How is elevation profile calculated?
By definition, elevation gain is the difference in elevation between two points on the earth's surface. These points are defined by geographic coordinates.
Let's go into more detail to understand how MapPlanner calculates this from your route.
What is the purpose of the elevation change for your route (rides or hikes)?
In order to prepare your routes well (and to establish your progressions precisely), it is necessary to base on the difficulty of the route by calculating the difference in altitude for each point of the route.
On a flat area, the calculation is quite simple, the difficulty is constant over the whole route, so we use only the complete distance of the route.
On the other hand, on a winding path, the calculation will depend strongly on the slope of the difference in level. The time taken will then become longer and longer depending on the slope of the terrain. Walking only 1km on a slope can be as difficult as running 3km on flat ground. The distance even becomes secondary to calculate the total difficulty.
Interest of the IBP index
The Hiking Federation uses a rating system for hikes based on 3 criteria:
- the effort
- technicality
- the risk
This score between 0 and 100 allows to evaluate a hiking itinerary and to deduce the physical condition and the time needed according to the person.
MapPlanner uses an equivalent mechanism to determine the time required to hike a trail. It is not useful for running because it is often done on roads or paths.
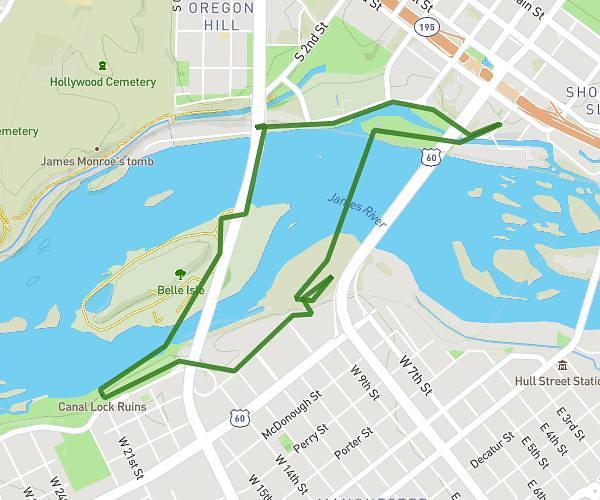
Plan your own route
MapPlanner helps you calculate distances, elevation, duration and plan your hikes, runs and bike rides on an interactive map.
- Automatic distance & elevation calculation
- Topographic, satellite maps
- GPX/KML export for your GPS
- Real-time GPS tracking
A little theoretical point: what is elevation gain?
To complete the above definition, let's use an example to understand the concept of elevation profile.
If your starting point is at 1000m and you ride to 2000m and then come back to 1000m, your global elevation will be 0 but the cumulated elevation will be 2000m.
The global elevation is the difference between the altitude of the starting point (here 1000m) and the altitude of the arrival point (always 1000m), so in the end 0m! In the case of a hike, we ignore this data because it is not interesting.
On the other hand, the cumulative difference in altitude is the sum of all the differences in altitude. In the previous example, it will be 2000m.
We can also distinguish between the positive elevation (1000m) and the negative elevation (1000m). The positive difference in height, which represents the total of the elevation change, will be faster to cover than the negative difference in height, which represents the total of the descents.
As a general rule, we consider that it takes twice as much time to go up than down. This rule is used by our algorithm to refine the calculation of the time needed to cover the route.
How to determine the difference in altitude in practice?
After a quick theoretical lesson, here are the different ways to know the difference in altitude.
Using the MapPlanner ride creation tool, you can display the elevation change curve directly below your route. In addition, once the route is created, all the important information is summarized below the map. This way you can quickly see the positive and negative elevation changes of your route.
After planning your route, we advise you to use a map to check in advance and during your trip, the difficulty required to achieve it in the estimated time.
On the map, the contour lines are represented every 10 meters. The closer the curves are to each other, the greater the difficulty!
Finally, you can also use a dedicated GPS (like Garmin) or an application on your smartphone, to know in real time your progress on the course.